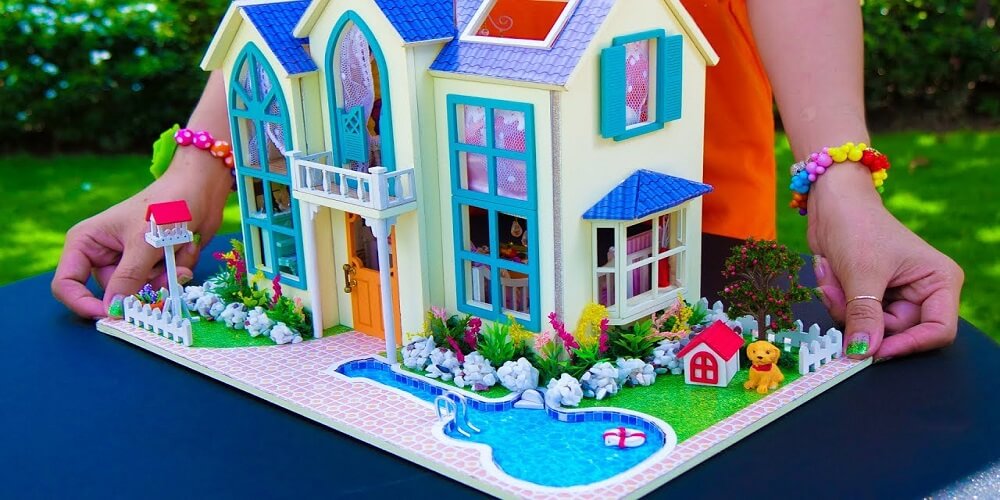
If you own a child who loves to play with toys, then there’s every chance that you would love to acquire doll houses for them. The first step to start is purchasing a Maison de poupée kit. This way, you get to build it to fit your taste.
To find out more about tip tips to setting up your dollhouses easily!
Setting Up Doll Houses: What You Need To Know
Here are the things you ought to know about building a house for yourself or your child:
1. Spot and Note the Pieces
The first step and most essential thing to do is to bring out all the pieces and assemble them on a table. Then, go ahead to identify each of them using the list that comes with the instruction booklet. Sometimes, you will have two or more pieces of the same size type. The best thing to do at this point would be to measure them appropriately – use a pencil to mark numbers on them, if possible.
2. Apply Paint to the Walls And Ceilings
As you go on to mark the pieces, note the ceilings too. Usually, painting the ceilings is easy to do, so most people would prefer to do it first before assembling the pieces. If you do not paint it first, you may find it difficult to do so after you’re done with building the house; this isn’t fun.
Preferably, know the color scheme of your dollhouse. Doing this will ensure that you don’t get to do hard painting wherever two colors are joined like window trim and siding, porch and siding, etc.
If you can’t come up with a perfect color scheme, you can visit a painting store, they will help you out with samples of colors that duly complement each other.
3. The Shell should be Joined Together
A better adhesive for this purpose is a could of brads and glue. You can enquire from past builders on the best glue to use for this. Many people believe that it’s better to clamp than to glue but this isn’t the truth as gluing is indeed better than clamping.
After the gluing stage, you may want to assemble the roof of your dollhouse.
4. Use an Assembly Tool
While building your dollhouses, you have the opportunity to choose a tool that will aid the assembling process. One tool that perfectly fits this purpose is the Easy cutter. It’s great for cutting the pieces you’ve trimmer as well as the shingles. One beautiful thing about using this cutter is it works well for cutting both angle and straight pieces.
As soon as you’re done assembling, finish the interior of your dollhouse, and complete the foundation
5. Apply Glue to The Floor
At this stage, you need to make a pattern on the floor of your dollhouse using either thin cardboard or regular paper. Use scissors to trim until it fits the floor. Fix the flooring the exact way it should be in the house, fix the pattern below the flooring, and then turn them both upside down. You will get the ideal flirting fit once you’re done tracing the pattern.
Conclusions
In all, building dollhouses involves simple steps – you only need to learn them. Although this article doesn’t address every tip you need to know, the little it talks about should help you get past some hurdles.
